Monday, December 10, 2012

featured on Lottie Loves

A peak into our home is being featured today on Lottie Loves, the wonderful blog of London-based, Charlotte Rivers.

Thanks Charlotte, for including our home in your series!

and just for fun, here's my super-posed out-take:


Friday, May 18, 2012

workspace

my workspace at home. most days it's covered in clothes.

Thursday, December 22, 2011

happy new year


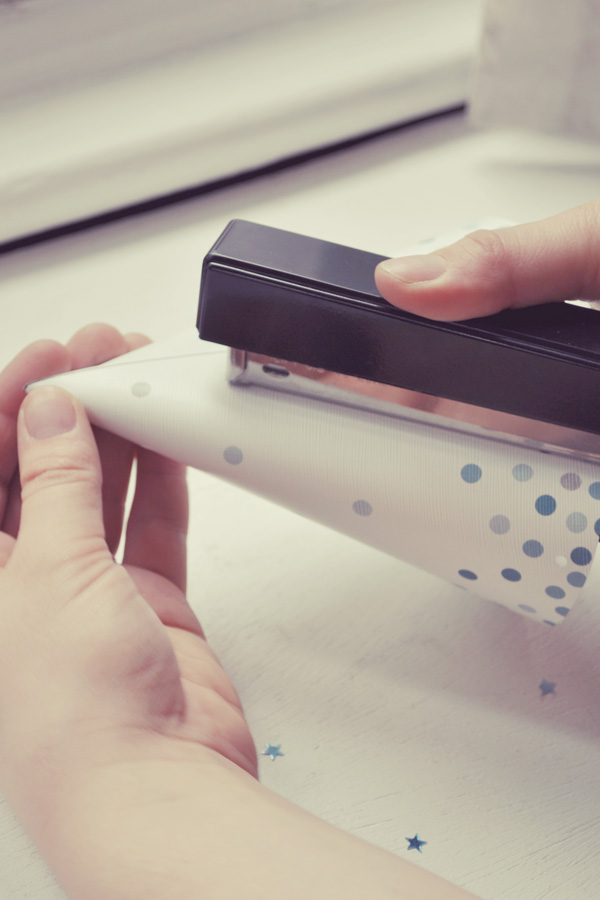
We’re ringing in 2012 with these festive party hats. Print the template and follow the step-by-step below to make your own festive head wear.  You'll need scissors, some curling ribbon, a stapler or tape, and a piece of string or elastic.

Print one (or all!) of the four different designs by right-clicking and opening the image in a new window. Then follow the steps


1.       Cut out your hat base
 2.       Roll the base into a cone by overlapping the ends and staple or tape to secure


3.       Curl ribbon and attach to the top of your cone with tape, staples, or glue

 
You can also slide the ribbon through the top, you have a small opening  at the top of your cone and tie a couple knots to keep it in place

4.       Punch two holes for the elastic where they are marked (by small circles) on the template
5.       Loop elastic string through the holes and tie in a double knot
 You can also staple the elastic and tie a knot above the staple to keep it in place
Add glitter, tinsel, or confetti to give your hat some extra flair!

Monday, December 12, 2011

Thursday, December 1, 2011

Wednesday, October 26, 2011

yarn-wrapped letter

I've seen a bunch of these yarn-wrapped letters on pinterest (here, here, and here) and loved them. So I was just waiting to find the right letter "C" to create my own (I wanted a fairly modern sans-serif typeface and hadn't seen any around.) The other day I was in Michael's Art & Craft and saw a bunch of letters in the dollar bins on clearance, I was excited to find this sans-serif "C" for just forty cents! I picked up a $2.50 skein of yarn in a soft gray color, and used a little bit of hot glue that I already owned for a quick, $3 project.

I wrapped the end caps first so they'd be underneath.


Here's the finished letter:

Tuesday, October 25, 2011

autumn wreath

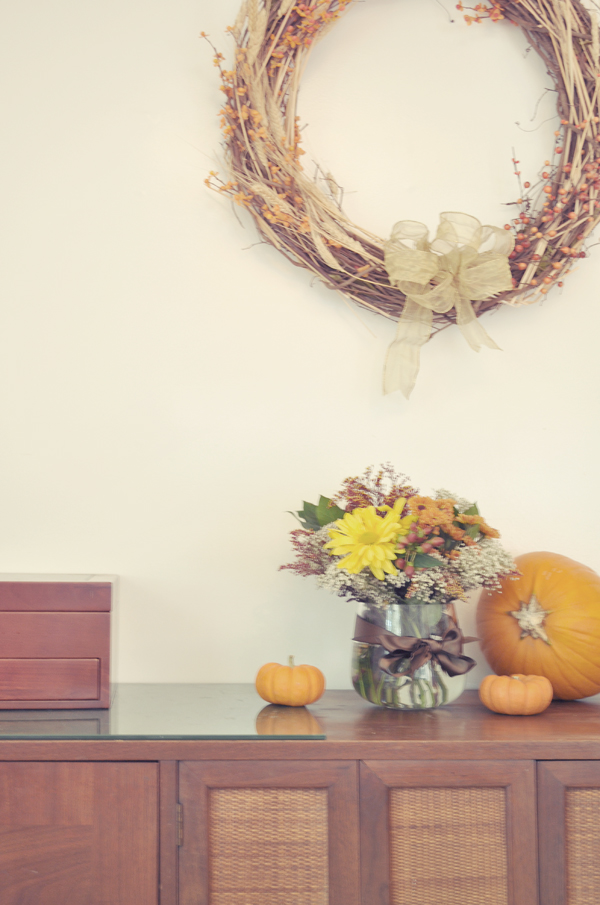
Just a little wreath I put together so that we'd have some fall in our dining room.

I picked up this grapevine wreath base at the craft store, and used a few artificial stems I already had on hand, plus some stalks of dried wheat to fill it in a bit.


Saturday, October 22, 2011

lamp revamp

I was given a cardboard lamp base over the summer and had a yard of fabric from IKEA laying around so I decided to combine the two to make a lamp for my studio. I wrapped the fabric around the base inside out and then marked it with a pin, then I sewed a seam at the mark to make a sleeve. Hemmed the top and bottom to the correct height to cover the cardboard area, and slipped the finished sleeve over the base. It was quick to make and will be easy to change for a new look if I ever get tired of this fabric, though I'm loving it so much, it's hard to imagine wanting to change it.

Here's the before and after:


Wednesday, October 19, 2011

Indah & Gavin Print Materials

 
Programs, Seating Cards, & Table Numbers for Indah & Gavin's Wedding

Tuesday, October 18, 2011

ladies sign

I just loved this little brass sign for the ladies room, from the Waveny House in New Canaan, Connecticut.

Monday, September 26, 2011

chevron fever

This metal box was another thing I rescued from the trash pile at my office. I loved it immediately, but thought it could use a little something extra . . . maybe on the lid. I've been crushing on chevron patterns for a while and even though I made this chevron rug a few months ago, my fever for the zigzags hasn't abated. My design mind is fickle though, so even though I'm loving every zig and zag in sight right now, I realize that in a few months I might be digging something new, so I didn't want to do anything too permanent to this box. So, out came the contact paper again. I printed myself out a zigzag stripe to use as a template, and then used scissors to cut out enough zigzags to cover the lid. Then I just peeled the backing, stuck them on using my template as a spacing guide, and trimmed off the excess after folding each end under the lid. It's so sweet I may even take it home and use it in my kitchen for recipes.

Friday, September 23, 2011

mid-century office items


Some things I picked up to go in my redesigned office space
- a retro stamp holder with enamel base
- a small adjustable arm lamp with a laminated wood-look base
- matching electric heater - has the faux-wood look.

The stamp holder was in the junk/trash pile at work and I saved it. The lamp and the heater I picked up at Salvation Army, The lamp was $5 and the heater, I snagged $7.50.

Thursday, September 22, 2011

inbox update


I'm getting a new desk in my office. I love my old desk, it's huge and has beautiful drawers and three pull-out (pocketed) work surfaces. Having worked at this desk for five years, I'll be sad to give it up, but really I'm just trading with a neighboring co-worker so I'll still get to see it around the office. The new desk is lower, more ergonomically proportioned for my height and best of all, was made in 1960. This switch is the little extra push that I've been needing to add some style to my work space that reflects my design preferences a little better. So I've been doing little projects, picking up little items at the thrift store that compliment this new desk, and making new things out of old ones to create a space that I'm delighted to walk into every day. I'm the type of girl that works more happily and productively in a neat, clean, well-designed space.


I updated this wooden inbox that was destined for the trash at my office building, (it was only slightly stained on the inside bottom.) Using a gray prismacolor marker, I free-handed a simple line pattern on a sheet of white contact paper that was slightly larger than the interior dimensions of the box. Once it was covered, I let it air dry for a few minutes so it wouldn't be smudgy, then peeled off the contact paper backing and starting in the middle of the box, stuck it down and smoothed it toward the edges. I used my x-acto knife to trim off the excess, then covered the outside in plain white contact paper, using the same method. Some of the nice detailing of the box, like the dovetailed corners, are hidden, but so are the stains and scratches and it looks a little fresher. I pulled this file holder out of the same trash pile, and it doesn't need a thing, it isn't scratched or dented at all. I've seen this file rack in a few offices in scenes from Mad Men too, which makes it feel extra special. Just needs a little dusting off.

Tuesday, September 20, 2011

dining room


I've been meaning to take a picture of this American of Martinsville credenza that we've had in our dining room for a few months now. I put up that string-line with paper goods pinned to it for a little craft party this past weekend and it looked so sweet, I decided to leave it up for a few days. Anyway, the credenza is one of my favorite pieces that we own, and it has a sweet story that starts with this little side table. I haven't taken many pictures of the side table yet, but you can see it here in this year-old picture of our living room:


We plucked that little end table (on the far left, beside the sofa) off of the curb, it had a free sign covering the entire front, so all I could see as we drove past, were those beautiful tapered legs. We made a U-turn and were delighted when we lifted the sign to find the offset handles. We packed it quickly into the backseat and drove home, feeling like we'd just made away with the treasure. It had some nail polish spilled on the top and down the side, so I sanded it down gently and refinished it with satin polyurethane. I also lined the drawers with the wallpaper i used for our front closet. It has the rounded x-shaped metal inlays on the top that are kind of charming. Later while searching craigslist for a deal on a credenza, we happened upon this matching one and Tim drove straight up to Maryland to pick it up. It's currently in the dining room, but we're planning for it to live in the living room once we finish the floor in there.